Crocheting a hat involves a few simple steps. First, choose your preferred yarn and crochet hook size.
Then, create a foundation chain and join it in a ring. Begin crocheting in rounds, using the desired stitch pattern. Increase the stitches gradually to shape the crown, and continue until the hat reaches the desired length. Finally, fasten off and weave in any loose ends.
With these steps, you can easily crochet a beautiful hat to keep you warm and stylish during the colder months.
Introduction To Crochet And Hat Making
Crocheting a hat is a wonderful way to unleash your creativity and make a practical and stylish accessory. Before we dive into the step-by-step process of creating your own crochet hat, let’s explore the world of crochet and the art of hat making.
Popularity Of Handmade Hats
Handmade hats have been experiencing a resurgence in popularity, as people are drawn to the uniqueness and craftsmanship of these one-of-a-kind creations. The personal touch and individuality of handmade hats make them highly sought after in today’s fast-paced, mass-produced world.
Benefits Of Learning Crochet
Learning how to crochet not only allows you to create beautiful and functional items, but it also provides a therapeutic and meditative outlet for self-expression. The rhythmic and repetitive nature of crochet can be calming and soothing, offering a welcome break from the hustle and bustle of everyday life. Additionally, mastering the art of crochet opens up a world of possibilities for creating personalized gifts and custom pieces for yourself and others.
Materials Needed For Crocheting A Hat
To crochet a hat, you will need essential materials such as yarn, crochet hooks of various sizes, a tapestry needle, and scissors. These items are necessary for creating a beautiful and cozy hat through the art of crocheting.
Materials Needed for Crocheting a Hat Crocheting a hat is a fun and creative activity that anyone can enjoy. However, before you can start crocheting, you need to gather the necessary materials. In this section, we will discuss the materials needed for crocheting a hat, including choosing the right yarn, selecting crochet hooks, and additional tools and accessories. Choosing the Right Yarn The first step in crocheting a hat is choosing the right yarn. When selecting your yarn, you should consider the fiber content, weight, and texture.
The most common fibers used for crocheting are wool, acrylic, and cotton. The weight of the yarn determines the thickness of the finished hat, with lighter weights being thinner and heavier weights being thicker. The texture of the yarn can also affect the appearance and feel of the hat. Selecting Crochet Hooks Once you have chosen your yarn, you will need to select the appropriate crochet hook. Crochet hooks come in different sizes, ranging from small to large. The size of the hook you choose will depend on the weight of the yarn and the desired gauge. It is important to use the correct size hook to ensure that your hat turns out the right size and shape.
Additional Tools and Accessories In addition to yarn and crochet hooks, there are a few other tools and accessories that you may need for crocheting a hat. These include: – Scissors: You will need scissors to cut the yarn when you finish crocheting your hat. – Stitch markers: Stitch markers can be used to mark the beginning and end of a round, or to mark specific stitches in the pattern. – Tapestry needle: A tapestry needle is used to weave in the ends of the yarn after you finish crocheting your hat. – Measuring tape: You may need a measuring tape to check the gauge and to measure the circumference of the hat.
Conclusion Crocheting a hat can be a fun and rewarding experience, but it is important to have the right materials. By choosing the right yarn, selecting the appropriate crochet hook, and having the necessary tools and accessories, you will be well on your way to crocheting a beautiful hat.
Basic Crochet Techniques And Stitches
Crocheting a hat is a fun and rewarding project. Let’s explore some basic crochet techniques and stitches that you’ll need to master to create a beautiful hat.
Slip Knot And Chain Stitch
To begin your crochet project, create a slip knot. Then, make a chain stitch to establish the foundation of your work.
Single And Double Crochet
Once you have your chain stitch, you can move on to single crochet and double crochet stitches. These stitches form the basis of many crochet patterns.
Working In The Round
When crocheting a hat, you’ll often work in the round. This means continuously crocheting in a circular pattern without turning your work.
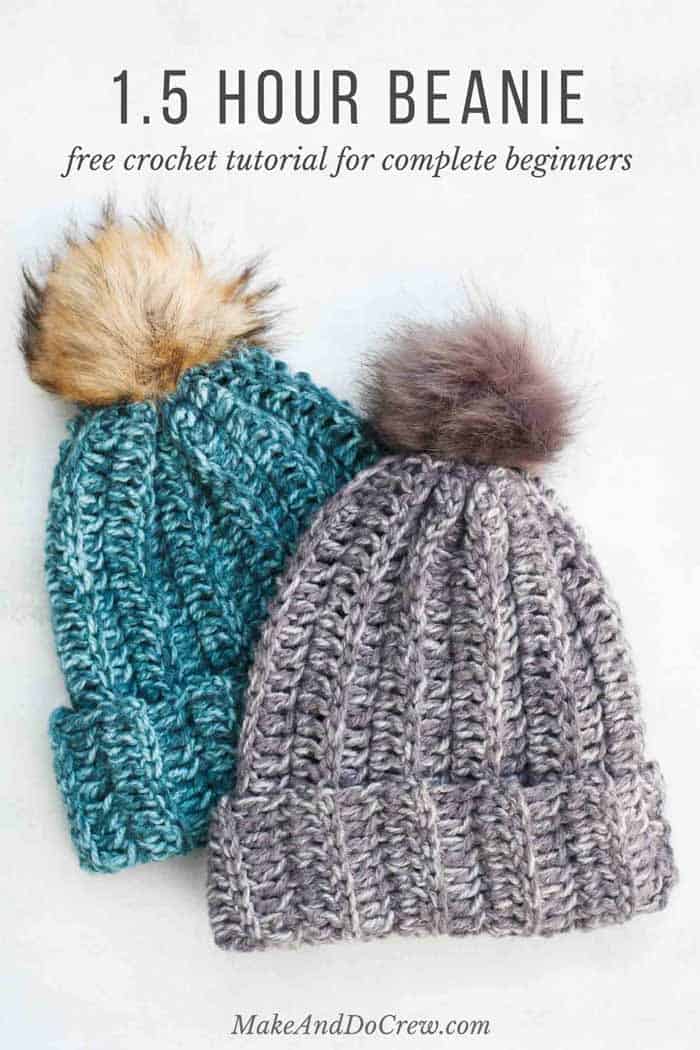
Credit: makeanddocrew.com
Reading And Understanding Crochet Patterns
Learn how to crochet a hat by mastering the art of reading and understanding crochet patterns. Follow the instructions to create a stylish and cozy hat using basic crochet stitches and techniques. With clear pattern comprehension, you can confidently crochet a hat in no time.
Pattern Symbols And Abbreviations
Understanding crochet patterns can seem overwhelming at first, but once you become familiar with the various symbols and abbreviations used, it becomes much easier to follow along. Crochet patterns often use a combination of letters, numbers, and symbols to convey instructions. These symbols and abbreviations are like a secret code that crocheters use to create beautiful projects. Let’s take a look at some common pattern symbols and abbreviations you’ll come across:
| Symbol/Abbreviation | Meaning |
|---|---|
| ch | chain |
| sc | single crochet |
| dc | double crochet |
| sl st | slip stitch |
| repeat | |
| [ ] | work instructions within brackets as directed |
These are just a few examples of the many symbols and abbreviations you may encounter in crochet patterns. It’s important to refer to the pattern’s key or legend to understand the specific meanings of each symbol and abbreviation. Once you become familiar with these shorthand notations, you’ll be able to read and understand crochet patterns with ease.
Gauge And Sizing
Another crucial aspect of reading and understanding crochet patterns is determining the correct gauge and sizing. Gauge refers to the number of stitches and rows per inch achieved with a particular yarn and hook size. It ensures that your finished project will have the correct dimensions as specified in the pattern.
To determine the gauge, you’ll need to crochet a swatch using the recommended yarn and hook size. The pattern will typically specify a stitch pattern and the number of stitches and rows that should fit within a specific measurement. By comparing your swatch to these measurements, you can adjust your hook size or tension to achieve the correct gauge. Achieving the correct gauge is essential because it directly affects the size and fit of your finished hat. If your gauge is too loose, your hat may turn out larger than intended, while a too tight gauge may result in a smaller hat.
Following the pattern’s instructions for gauge ensures that your hat will fit as expected. By understanding pattern symbols and abbreviations and paying attention to gauge and sizing, you’ll be well-equipped to tackle any crochet hat pattern. So grab your crochet hook, select your favorite yarn, and let’s get started on creating a cozy hat!
Step-by-step Guide To Crocheting A Hat
Are you ready to crochet your own stylish hat? Follow this step-by-step guide to create a cozy and fashionable accessory. From starting with a magic circle to shaping the crown, working the body of the hat, and finishing with the brim, this tutorial will walk you through the process in detail.
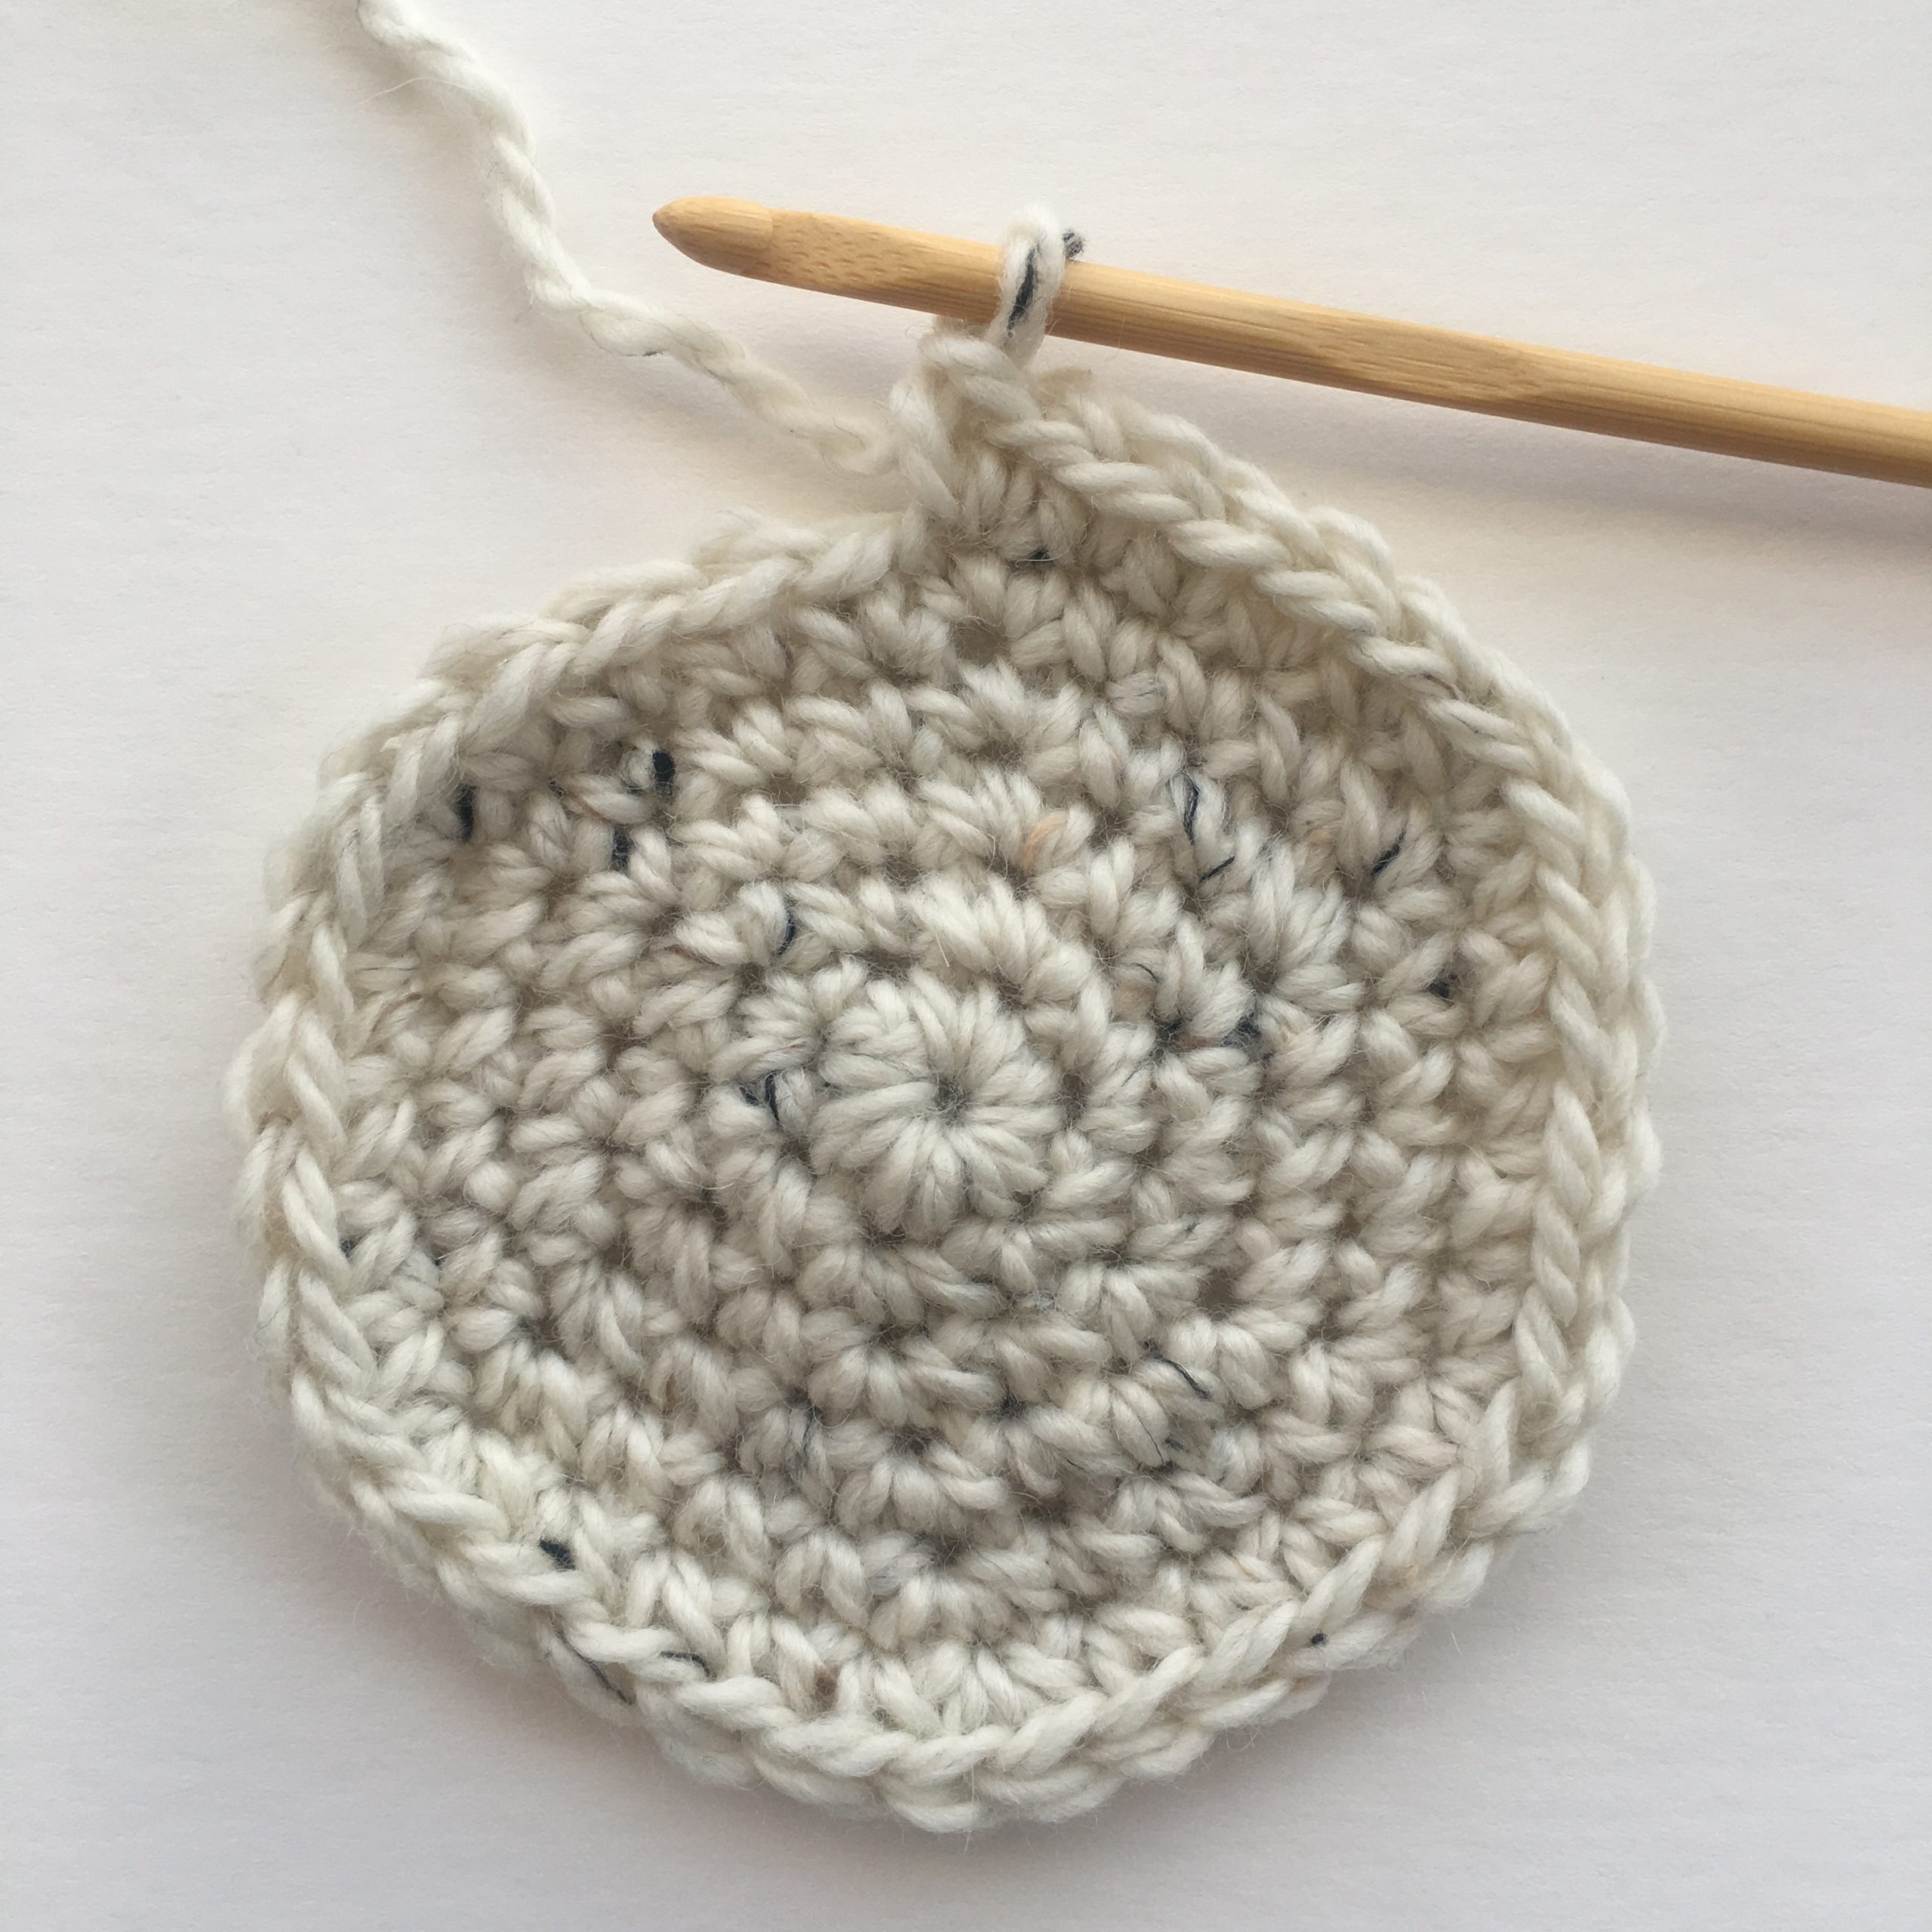
Starting With A Magic Circle
To begin, create a magic circle by making a loop with the yarn and inserting the hook into the loop. Then, chain one and work a series of stitches into the circle, following the pattern instructions for the specific hat you are making.
Increasing And Shaping The Crown
As you continue crocheting, you will gradually increase the number of stitches in each round to shape the crown of the hat. This creates a smooth, rounded top that will fit comfortably when worn.
Working The Body Of The Hat
Once the crown is complete, you will transition to working the body of the hat. This involves crocheting in rounds without increasing, following the pattern’s instructions for the desired length and style of the hat.
Finishing With The Brim
Finally, finish off your hat by adding a brim. This can be achieved through various crochet stitches, such as single crochet, double crochet, or a combination of stitches, to create the perfect finishing touch for your hat.
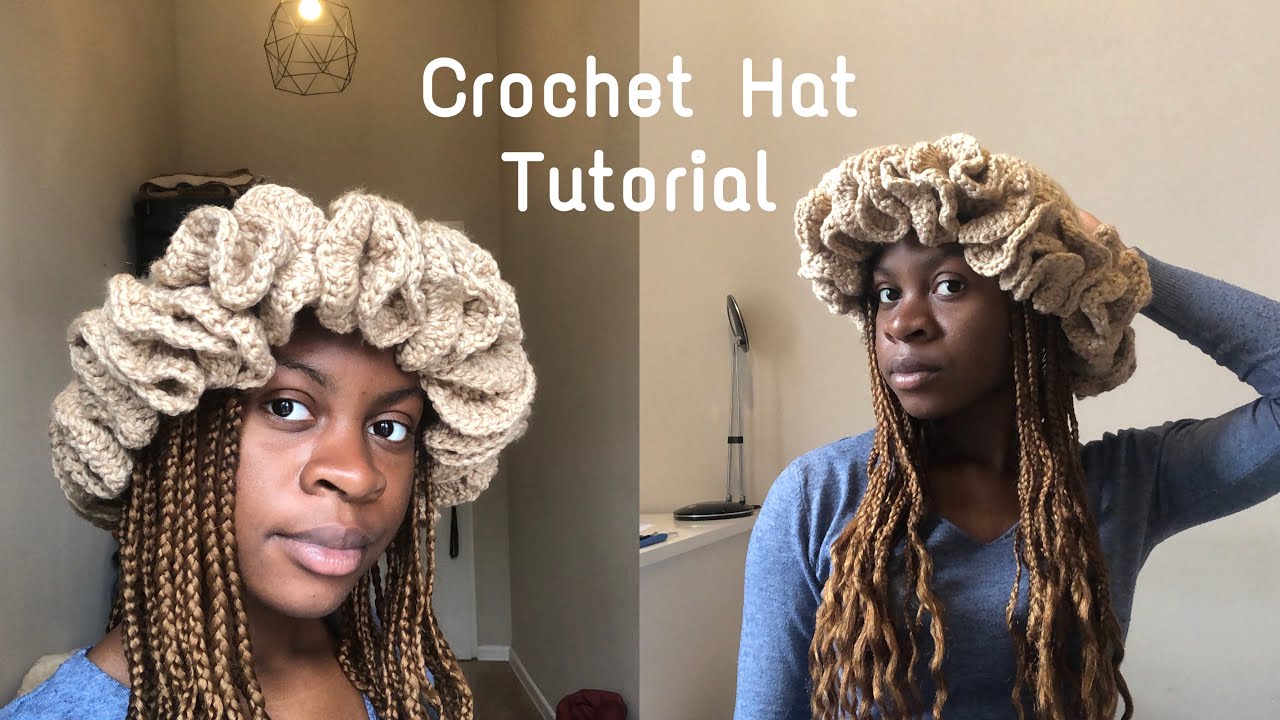
Credit: www.youtube.com
Customizing Your Crochet Hat
One of the best things about crocheting your own hat is the ability to customize it to your liking. From adding color and texture to incorporating unique patterns and embellishments, there are endless possibilities to make your crochet hat truly one-of-a-kind. In this section, we’ll explore some creative ways to customize your crochet hat and make it stand out from the rest.
Adding Color And Texture
Color and texture can completely transform the look and feel of your crochet hat. Consider using different colored yarns to create stripes or incorporate variegated yarns for a visually striking effect. You can also experiment with different crochet stitches to add texture, such as the popcorn stitch or the bobble stitch. Adding a combination of colors and textures will give your hat a unique and eye-catching appearance.
Creating Stripes And Patterns
Stripes and patterns are great ways to add visual interest to your crochet hat. You can create stripes by alternating between different colors or by using a self-striping yarn. For more intricate patterns, you can follow a crochet pattern or create your own. Whether it’s a simple chevron pattern or a more complex fair isle design, incorporating stripes and patterns will make your crochet hat truly one-of-a-kind.
Embellishments: Pom-poms And More
Embellishments are a fun way to add personality and flair to your crochet hat. One popular embellishment is the pom-pom, which can be easily made using yarn and a pom-pom maker. You can attach the pom-pom to the top of your hat for a playful touch. Other embellishments to consider include buttons, flowers, or even embroidery. Get creative and let your imagination run wild to make your crochet hat uniquely yours.
Troubleshooting Common Crochet Issues
If you’re experiencing common issues while crocheting a hat, this troubleshooting guide will help you overcome them. Discover solutions for problems like uneven stitches, tight tension, and pattern mistakes to achieve a successful crochet project. Master the art of crocheting hats with ease.
Fixing Dropped Stitches
Crocheting a hat can be challenging, but don’t worry, common issues can be fixed easily.
Adjusting Hat Size
If your hat turns out too big or small, don’t panic, adjustments are simple.
Dealing With Twisted Rows
Twisted rows can be frustrating, but follow these steps to straighten them out. Troubleshooting common crochet issues is essential to create a perfect hat. Sometimes mistakes happen, but with a few simple tricks, you can fix them effortlessly.
Fixing Dropped Stitches
Dropped stitches are common in crochet, but fixing them is quick and easy. Simply use a crochet hook to pick up the dropped stitch and continue with your pattern.
Adjusting Hat Size
If your hat ends up too tight or loose, try adjusting the hook size or the number of stitches in your rounds. You can also add or remove rows to achieve the perfect fit.
Dealing With Twisted Rows
Twisted rows can happen if you turn your work in the wrong direction. To avoid this, make sure you turn your work in the same direction each time. If you notice twisted rows, simply unravel the row and re-crochet it in the correct direction.
Credit: www.mamainastitch.com
Caring For Your Crochet Hat
Keeping your crochet hat clean and well-maintained is essential to preserve its quality and longevity. Here are some simple tips on how to care for your beloved crochet hat:
Washing And Drying Tips
Hand wash your crochet hat in lukewarm water with mild detergent.
Avoid using harsh chemicals or bleach that may damage the yarn fibers.
Gently squeeze out excess water and lay flat to dry to maintain shape.
Storing Your Hat Properly
Store your crochet hat in a cool, dry place away from direct sunlight.
Avoid hanging your hat, as it may cause it to lose its shape over time.
Consider placing tissue paper inside the hat to help retain its shape.
Inspiring Crochet Hat Project Ideas
Discover creative crochet hat project ideas to master how to crochet a hat effortlessly. Unleash your creativity with unique designs and color combinations for stylish headwear. Explore various patterns and techniques to craft personalized hats for yourself or as thoughtful handmade gifts.
Seasonal Hat Designs
Crochet hats for winter, summer, spring, and fall.
Crochet Hats For All Ages
Crochet hats for babies, kids, adults, and seniors.
Conclusion: Wearing Your Handmade Creation
After completing the crochet hat, it’s time to wear it with pride. Show off your handmade creation by pairing it with your favorite outfit. Whether it’s a cozy winter look or a summer festival vibe, your crochet hat is a versatile accessory that adds a personal touch to any outfit.
Pride In Diy Fashion
Wearing a hat you crocheted yourself fills you with pride and accomplishment.
- Express individuality through unique designs
- Confidence in wearing your handmade creation
- Personal touch in every stitch
Gifting And Selling Your Hats
Consider gifting or selling your crocheted hats to spread joy and earn extra income.
- Thoughtful gifts for friends and family
- Craft fair or online market opportunities
- Custom orders for personalized creations
Frequently Asked Questions
How Do I Choose The Right Yarn For Crocheting A Hat?
Select a soft, medium-weight yarn in a color of your choice. Ensure it matches the pattern’s recommended yarn weight and gauge for best results. Consider the recipient’s skin sensitivity and the climate when making your selection.
What Are The Essential Crochet Stitches For Making A Hat?
The basic stitches required are chain, slip stitch, single crochet, half double crochet, and double crochet. These stitches are fundamental and versatile, allowing you to create various textures and designs for your hat.
Can I Customize The Size Of The Hat To Fit Different Head Measurements?
Yes, you can easily adjust the hat’s size by adding or reducing the number of stitches in the starting round and adjusting the length of the hat accordingly. This customization ensures a perfect fit for different head sizes.
Conclusion
Crocheting a hat is a fun and rewarding activity that anyone can enjoy. Whether you’re an experienced crocheter or a beginner, following these simple steps can help you create a beautiful hat that you can be proud of. With a little bit of practice and patience, you can create a variety of styles and designs to suit your personal taste.
So why not give it a try and see what you can create? Happy crocheting!