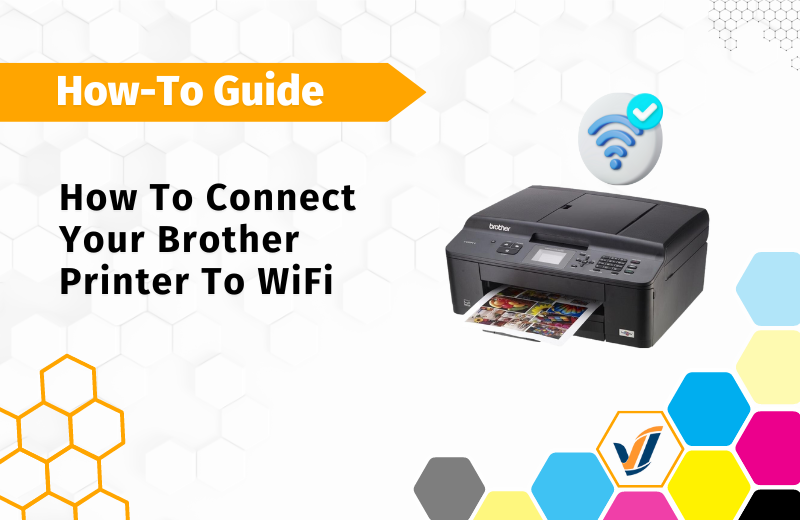
To connect a Brother printer to Wi-Fi, press Menu, select Network > WLAN > Setup Wizard, and follow the on-screen instructions to connect.
In today’s digital age, printers have become an essential part of our lives, allowing us to effortlessly print documents and photos from various devices. Brother printers are known for their reliability and advanced features, including wireless connectivity. Connecting your Brother printer to Wi-Fi enables seamless printing from multiple devices, such as computers, laptops, and smartphones, within the same network.
In this guide, we will walk you through the simple steps to connect your Brother printer to Wi-Fi, ensuring you can enjoy the convenience of wireless printing in no time.
Credit: viableimaging.com
Introduction To Wireless Printing
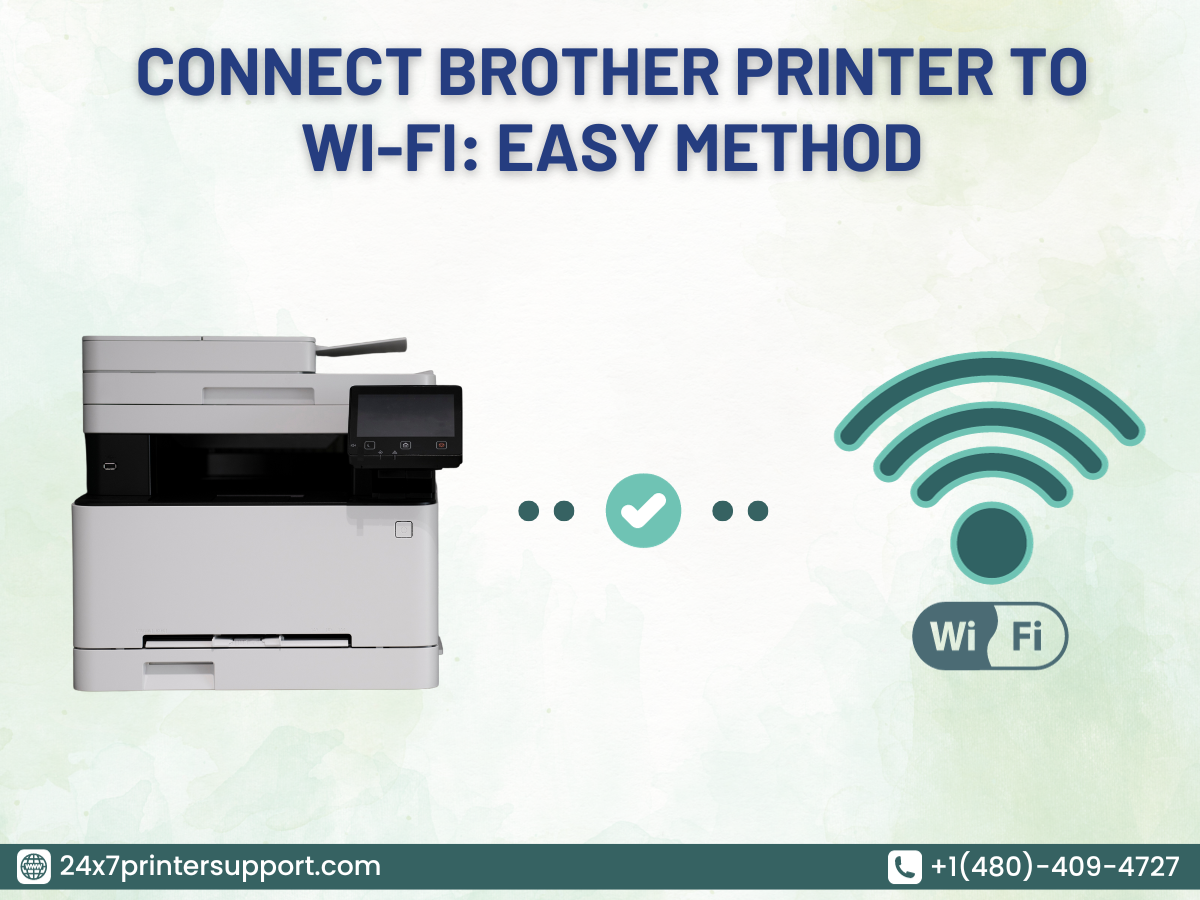
Wirelessly connecting your Brother printer to WiFi is a simple process. Follow these steps to ensure a seamless connection and enjoy the convenience of wireless printing without any hassle.
Wireless printing has become a popular choice for printing documents and photos from various devices without the need for physical cables. Brother printers are known for their reliability and quality, and they offer wireless connectivity for easy printing. In this article, we will guide you through the process of connecting your Brother printer to Wi-Fi. We will also discuss the benefits of Wi-Fi connectivity and how Brother printers have evolved to adapt to the wireless age.
Benefits Of Wi-fi Connectivity
Wi-Fi connectivity offers several benefits for printing, such as convenience and flexibility. With wireless printing, you can print from any device that is connected to your Wi-Fi network, such as laptops, smartphones, and tablets. This eliminates the need for transferring files to a computer connected to the printer or using USB cables. You can also print from anywhere in your home or office, without the need to be physically close to the printer. Additionally, Wi-Fi printing allows multiple users to access the printer, making it a great option for households or small offices.
Brother Printers In The Wireless Age
Brother has been in the printing industry for over a century and has adapted to the changing technology trends. Brother printers now offer wireless connectivity options, making it easy for users to print from various devices. Their printers are equipped with Wi-Fi Direct, allowing users to connect their devices directly to the printer without the need for a network. Brother also offers mobile printing apps for Android and iOS devices, making printing even more convenient. With their reliable printers and advanced wireless technology, Brother printers are a great choice for anyone looking for hassle-free printing.
Credit: medium.com
Pre-setup Requirements
How to Connect Brother Printer to Wifi? Before you can connect your Brother printer to Wi-Fi, there are certain pre-setup requirements that need to be in place. These prerequisites ensure a smooth and hassle-free setup process, allowing you to seamlessly integrate your printer into your wireless network. In this section, we’ll cover the essential pre-setup requirements to help you prepare for the connection process.
Identifying Your Network Credentials
Before initiating the setup process, it’s crucial to have your network credentials at hand. These typically include the network name (SSID) and the Wi-Fi password. You can usually find this information on your router’s label or in the documentation provided by your Internet Service Provider (ISP). If you can’t locate this information, reach out to your network administrator or ISP to obtain the necessary details.
Gathering Necessary Equipment
Aside from network credentials, ensure that you have all the necessary equipment ready for the setup process. This includes the Brother printer, power cable, and a computer or mobile device with a stable internet connection. Additionally, make sure that the printer is within the range of your Wi-Fi network to ensure a strong and reliable connection.
Initial Printer Setup
When setting up your Brother printer for wireless printing, the initial printer setup is crucial. Follow these simple steps to ensure a smooth start to your printing journey.
Unboxing And Powering On
1. Unbox your Brother printer carefully.
2. Remove all packaging materials and tapes.
3. Plug in the power cord and turn on the printer.
Installing Cartridges And Loading Paper
1. Open the cartridge access door.
2. Insert the ink cartridges into their respective slots.
3. Load paper into the input tray.
4. Adjust the paper guides to fit the paper size.
5. Close the cartridge access door securely.
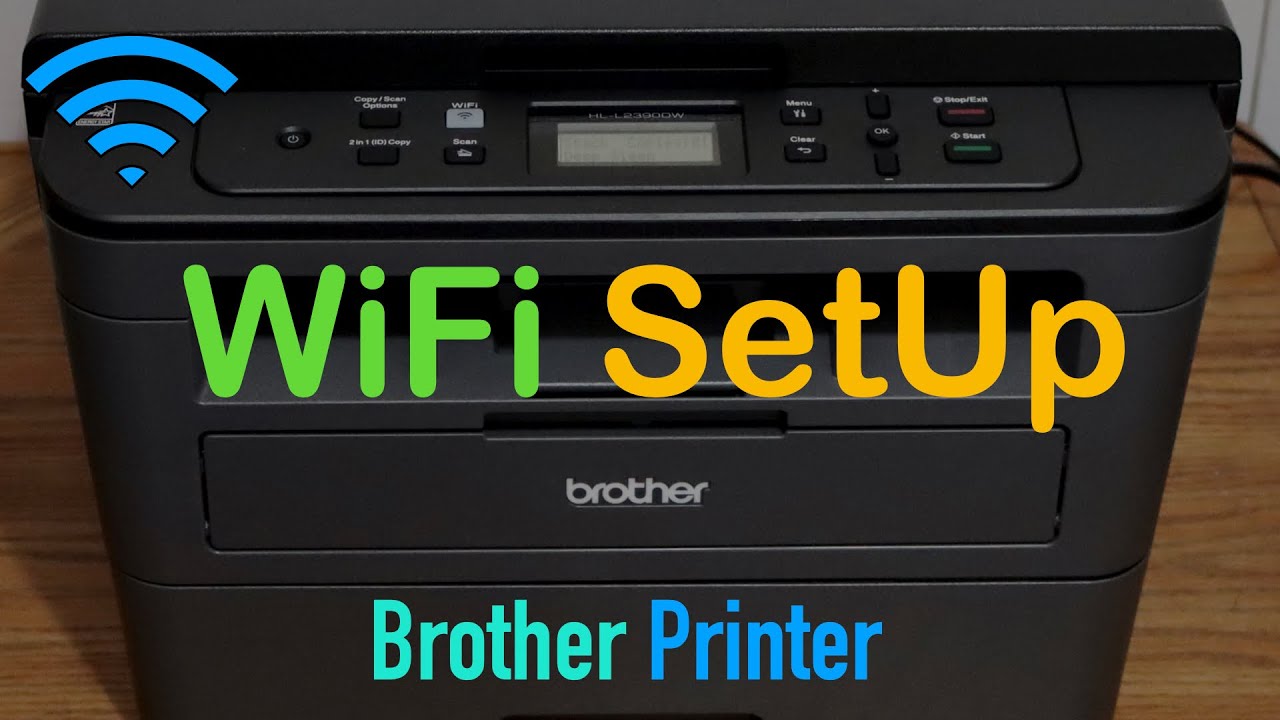
Enabling Wifi On Your Brother Printer
Connecting your Brother Printer to Wifi allows you to print wirelessly from any device in your home or office. To start enjoying this convenience, you need to enable the Wifi feature on your printer. In this section, we will guide you through the process of enabling Wifi on your Brother Printer, step by step.
Navigating The Control Panel
To enable Wifi on your Brother Printer, you will need to navigate the control panel of the printer. Follow these simple steps:
- Ensure that your Brother Printer is turned on and ready for use.
- Locate the control panel on your printer. It is usually located on the front or top of the printer.
- Using the arrow keys, navigate to the “Settings” option on the control panel.
- Press the “OK” button to enter the Settings menu.
Accessing Network Settings
Once you have entered the Settings menu, you need to access the network settings of your Brother Printer. Follow these steps:
- Using the arrow keys, navigate to the “Network” or “Wifi” option in the Settings menu.
- Press the “OK” button to access the network settings.
- Within the network settings, locate the “Wifi” or “Wireless” option and select it.
- You may be prompted to enter a password or network key. If required, use the control panel or the keypad on the printer to enter the necessary information.
- Once you have entered the password or network key, press the “OK” button to confirm and save the settings.
That’s it! You have successfully enabled Wifi on your Brother Printer. Now you can connect your printer to your Wifi network and start enjoying the convenience of wireless printing.
Connecting To The Wireless Network
Connecting your Brother printer to a wireless network is essential for convenient printing from multiple devices. To achieve this, you need to follow a few simple steps to connect your Brother printer to a Wi-Fi network. Let’s start by focusing on the process of connecting to the wireless network.
Selecting The Wifi Network
First, turn on your Brother printer and navigate to the “Settings” menu using the control panel. Look for the “Network” or “Wireless Setup” option and select “Wi-Fi Setup Wizard.” Your printer will then start searching for available Wi-Fi networks in the vicinity.
Inputting The Wifi Password
Once the available networks are displayed, select your desired Wi-Fi network from the list. If the network is secured, you will be prompted to enter the Wi-Fi password. Carefully input the password using the printer’s control panel, ensuring that each character is accurate.
Installing Printer Drivers
To connect your Brother printer to WiFi, start by downloading the latest printer drivers from the official Brother website. Once downloaded, run the driver installation process and follow the on-screen prompts to connect your printer to the WiFi network. This will ensure that your printer is ready for wireless printing.
Finding The Right Software
Before you can install your Brother printer drivers, it’s crucial to find the correct software for your specific printer model. To do this, head over to the official Brother website and navigate to the “Support” section. Here, you will find a search bar where you can enter your printer model number. Make sure to double-check the model number on your printer to ensure accuracy.
Once you’ve entered the correct model number, hit the search button, and a list of available drivers will appear. Take your time to review the options and select the driver that is compatible with your printer and operating system. It’s important to choose the right software to ensure optimal functionality and performance.
Driver Installation Process
Now that you’ve found the appropriate driver for your Brother printer, it’s time to install it. Follow these steps to successfully complete the driver installation process:
- Download the driver: Click on the download button next to the driver you’ve selected. The driver file will be saved to your computer.
- Locate the downloaded file: Once the download is complete, navigate to the folder where the driver file is saved. It’s usually in the “Downloads” folder, but it may vary depending on your browser settings.
- Run the installer: Double-click on the driver file to launch the installation wizard. Follow the on-screen instructions to proceed with the installation.
- Connect your printer: During the installation process, you will be prompted to connect your Brother printer to your computer. Make sure your printer is powered on and connected to the same Wi-Fi network as your computer.
- Complete the installation: Once the installation is complete, restart your computer to ensure all changes take effect. After the restart, your Brother printer should be successfully connected to your Wi-Fi network.
By following these simple steps, you can easily install the necessary drivers for your Brother printer and establish a connection to your Wi-Fi network. Now you’re ready to start printing wirelessly and enjoy the convenience of a seamlessly connected printing experience.
Testing The Connection
Connecting your Brother printer to WiFi is a crucial step in ensuring seamless printing. Follow these simple steps to test the connection and ensure a hassle-free printing experience.
Printing A Test Page
To ensure the Brother printer is connected successfully, printing a test page is essential. Follow these simple steps:
- Open the Control Panel on your computer.
- Select “Devices and Printers.”
- Right-click on your Brother printer and choose “Printer Properties.”
- Click on the “Print Test Page” button.
Troubleshooting Common Issues
Encountering connectivity problems is common. Here are some troubleshooting tips:
- Check the Wi-Fi connection on the printer.
- Ensure the printer and router are within range.
- Restart the printer and router.
- Update the printer’s firmware.
Credit: m.youtube.com
Advanced Wireless Features
When setting up your Brother printer on Wi-Fi, it’s beneficial to explore the advanced wireless features that can enhance your printing experience.
Wifi Direct
Wifi Direct allows you to connect your device directly to the printer without the need for a router.
- Simple: Easy setup with no network required.
- Convenient: Print directly from your smartphone or tablet.
- Efficient: Ideal for quick printing without network complications.
Mobile Printing
Mobile Printing enables you to print from your mobile devices, such as smartphones and tablets.
- Flexibility: Print from anywhere within your Wi-Fi network range.
- Convenience: No need to transfer files to a computer for printing.
- Efficiency: Seamless printing directly from your mobile device.
Securing Your Wireless Printer
Securing Your Wireless Printer is crucial to protect your device and data from unauthorized access.
| Security Measures | Benefits |
|---|---|
| Enable Encryption | Protects data transmission from interception. |
| Set Passwords | Prevents unauthorized access to printer settings. |
| Update Firmware | Ensures the latest security patches are in place. |
Maintaining The Wireless Connection
To connect your Brother printer to Wifi, access the printer’s settings menu and select the wireless network. Enter the Wifi password when prompted to establish a secure wireless connection. This allows you to print seamlessly from any device connected to the same network.
Regular Firmware Updates
To keep your Brother printer’s wireless connection stable, regular firmware updates are essential. Check for updates on the Brother website.
Dealing With Connectivity Problems
Connection issues can arise. Restart the printer and router to resolve common problems.
Conclusion And Additional Resources
Discover how to easily connect your Brother printer to WiFi with our step-by-step guide. For additional resources and troubleshooting tips, explore our comprehensive online support center. Access FAQs, manuals, and more to ensure a seamless setup process.
Recapping The Setup Process
Setting up your Brother printer to connect to Wi-Fi is a straightforward process. First, ensure your printer is turned on and within the range of your Wi-Fi network. Access the printer’s control panel to navigate to the network settings. Select your Wi-Fi network and enter the password to establish the connection. Confirm the connection by printing a test page.
Where To Find Further Help
If you encounter any issues while connecting your Brother printer to Wi-Fi, there are several resources available for assistance. You can visit the official Brother website for detailed setup guides and troubleshooting tips. Additionally, you can contact Brother’s customer support for direct assistance with any connectivity issues.
Frequently Asked Questions
How Do I Connect My Brother Printer To Wifi?
To connect your Brother printer to WiFi, first, make sure your printer and WiFi router are turned on. Then, access the printer’s menu and navigate to the network settings. Select the WiFi network you want to connect to and enter the password if prompted.
Once connected, your Brother printer will be ready to use wirelessly.
Can I Connect My Brother Printer To Wifi Without A Computer?
Yes, you can connect your Brother printer to WiFi without a computer. Most Brother printers have a built-in menu that allows you to connect directly to your WiFi network. Simply access the printer’s menu, navigate to the network settings, and select your WiFi network.
Follow the on-screen instructions to complete the WiFi setup.
How Do I Find The Wifi Password For My Brother Printer?
To find the WiFi password for your Brother printer, you can check your router’s settings. Access your router’s administration page by typing its IP address into a web browser. Look for the wireless settings or network settings section, where you should find the WiFi password listed.
If you can’t find it, consult your router’s user manual or contact your internet service provider.
Why Is My Brother Printer Not Connecting To Wifi?
If your Brother printer is not connecting to WiFi, there could be several reasons. First, ensure that your printer and WiFi router are turned on and in range. Double-check the WiFi network name and password you entered during setup. If the issue persists, try restarting both the printer and the router.
If the problem continues, consult the Brother printer support website or contact their customer service for further assistance.
Conclusion
Connecting your Brother printer to Wi-Fi is not a complicated task. By following the steps mentioned in this blog post, you can easily connect your printer to your Wi-Fi network and enjoy wireless printing. It is essential to ensure that your printer and router are compatible and in close proximity.
With these simple steps, you can make your printing experience much more convenient and efficient.